Easy Overnight Artisanal White Bread
This is a super easy, non-time consuming white bread. Most of the work is done while you sleep. The recipe was borrowed from Ken Forkish’s book FLOUR WATER SALT YEAST The Fundamentals of Artisan Bread and Pizza (which is an awesome book for the beginning baker). It is really fun to do with kids and the dough is quite wet and super fun to work with.
TOOLS OF THE TRADE
Scale
BPA free plastic tub with top (at least 6 qts) or you can use a glass bowl with plastic wrap
Electronic thermometer
Proofing basket
Dutch Oven
INGREDIENTS
500 grams of AP Flour
390 grams of water (90 - 95°F) (approximately 390 ml)
11 grams of fine sea salt
scant 1/8 tsp yeast
DIRECTIONS
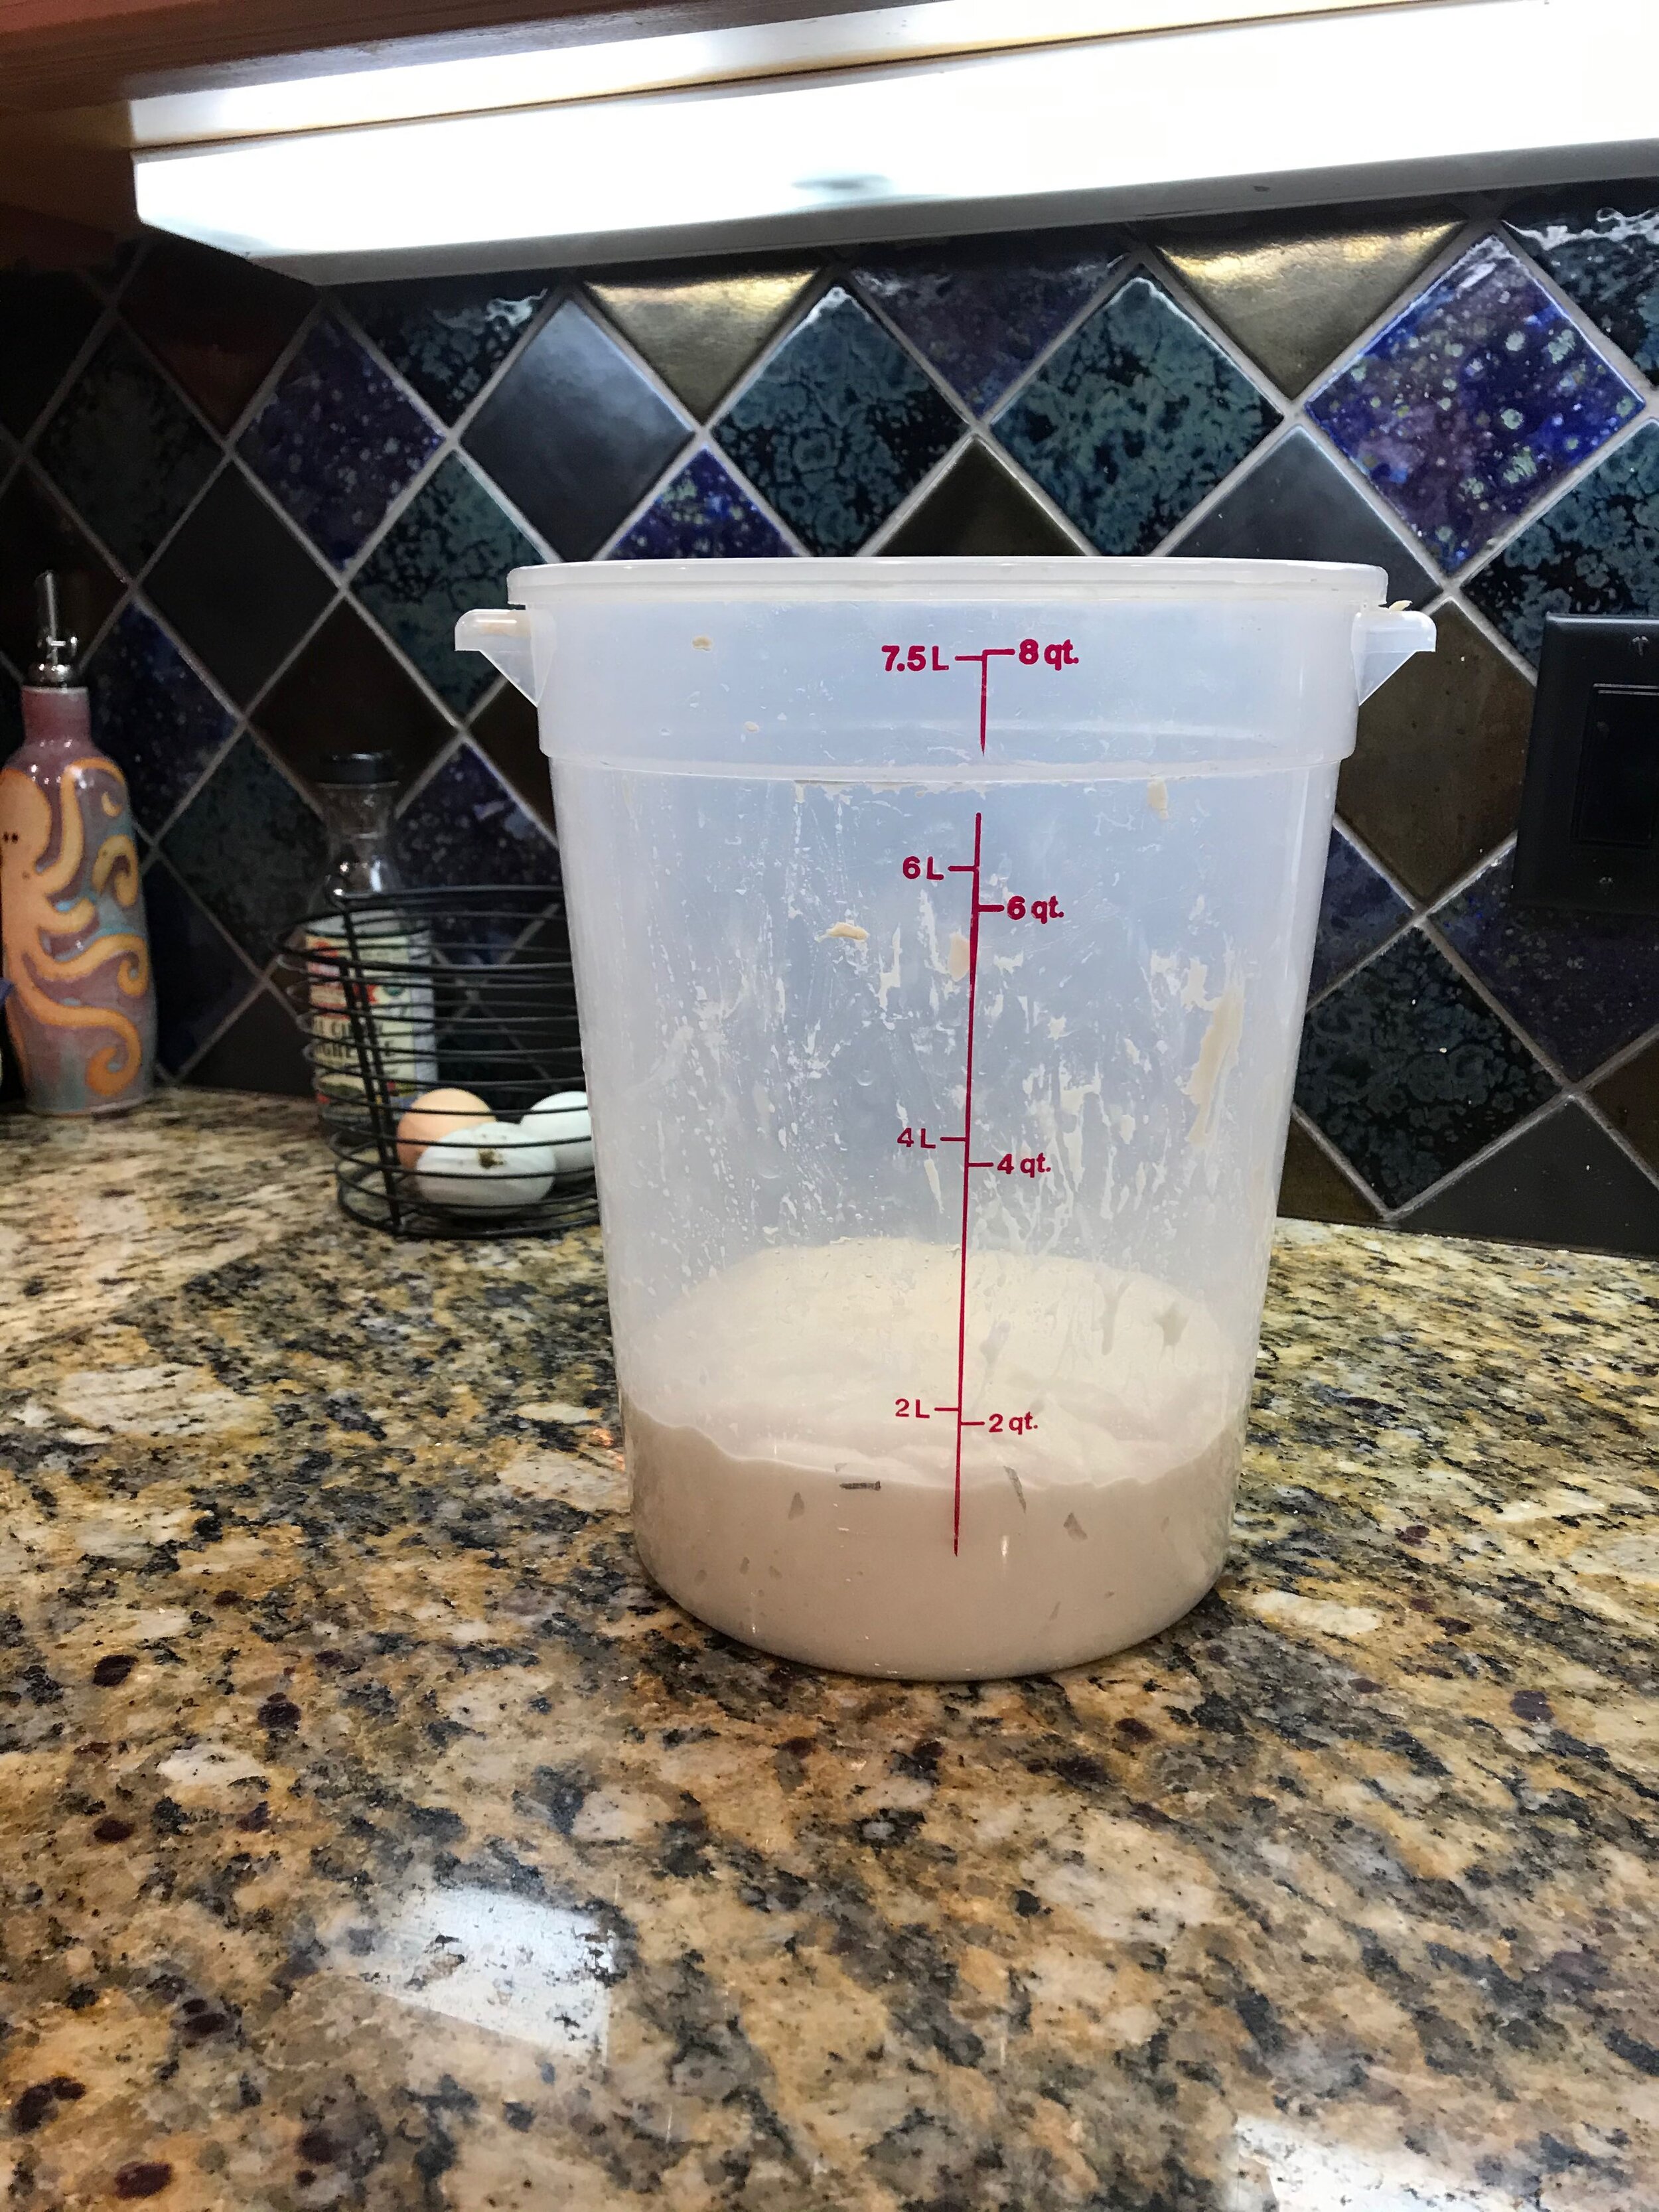
Combine 500 grams of AP flour and 390 grams of 90 - 95°F water in 6 qt plastic tub. Mix by hand until incorporated. Cover and let rest for 20 - 30 minutes.
Sprinkle the 11 grams of salt and the scant 1/8 tsp of yeast over the top.
Mix by hand, wetting your working hand so that the dough doesn’t stick to you.
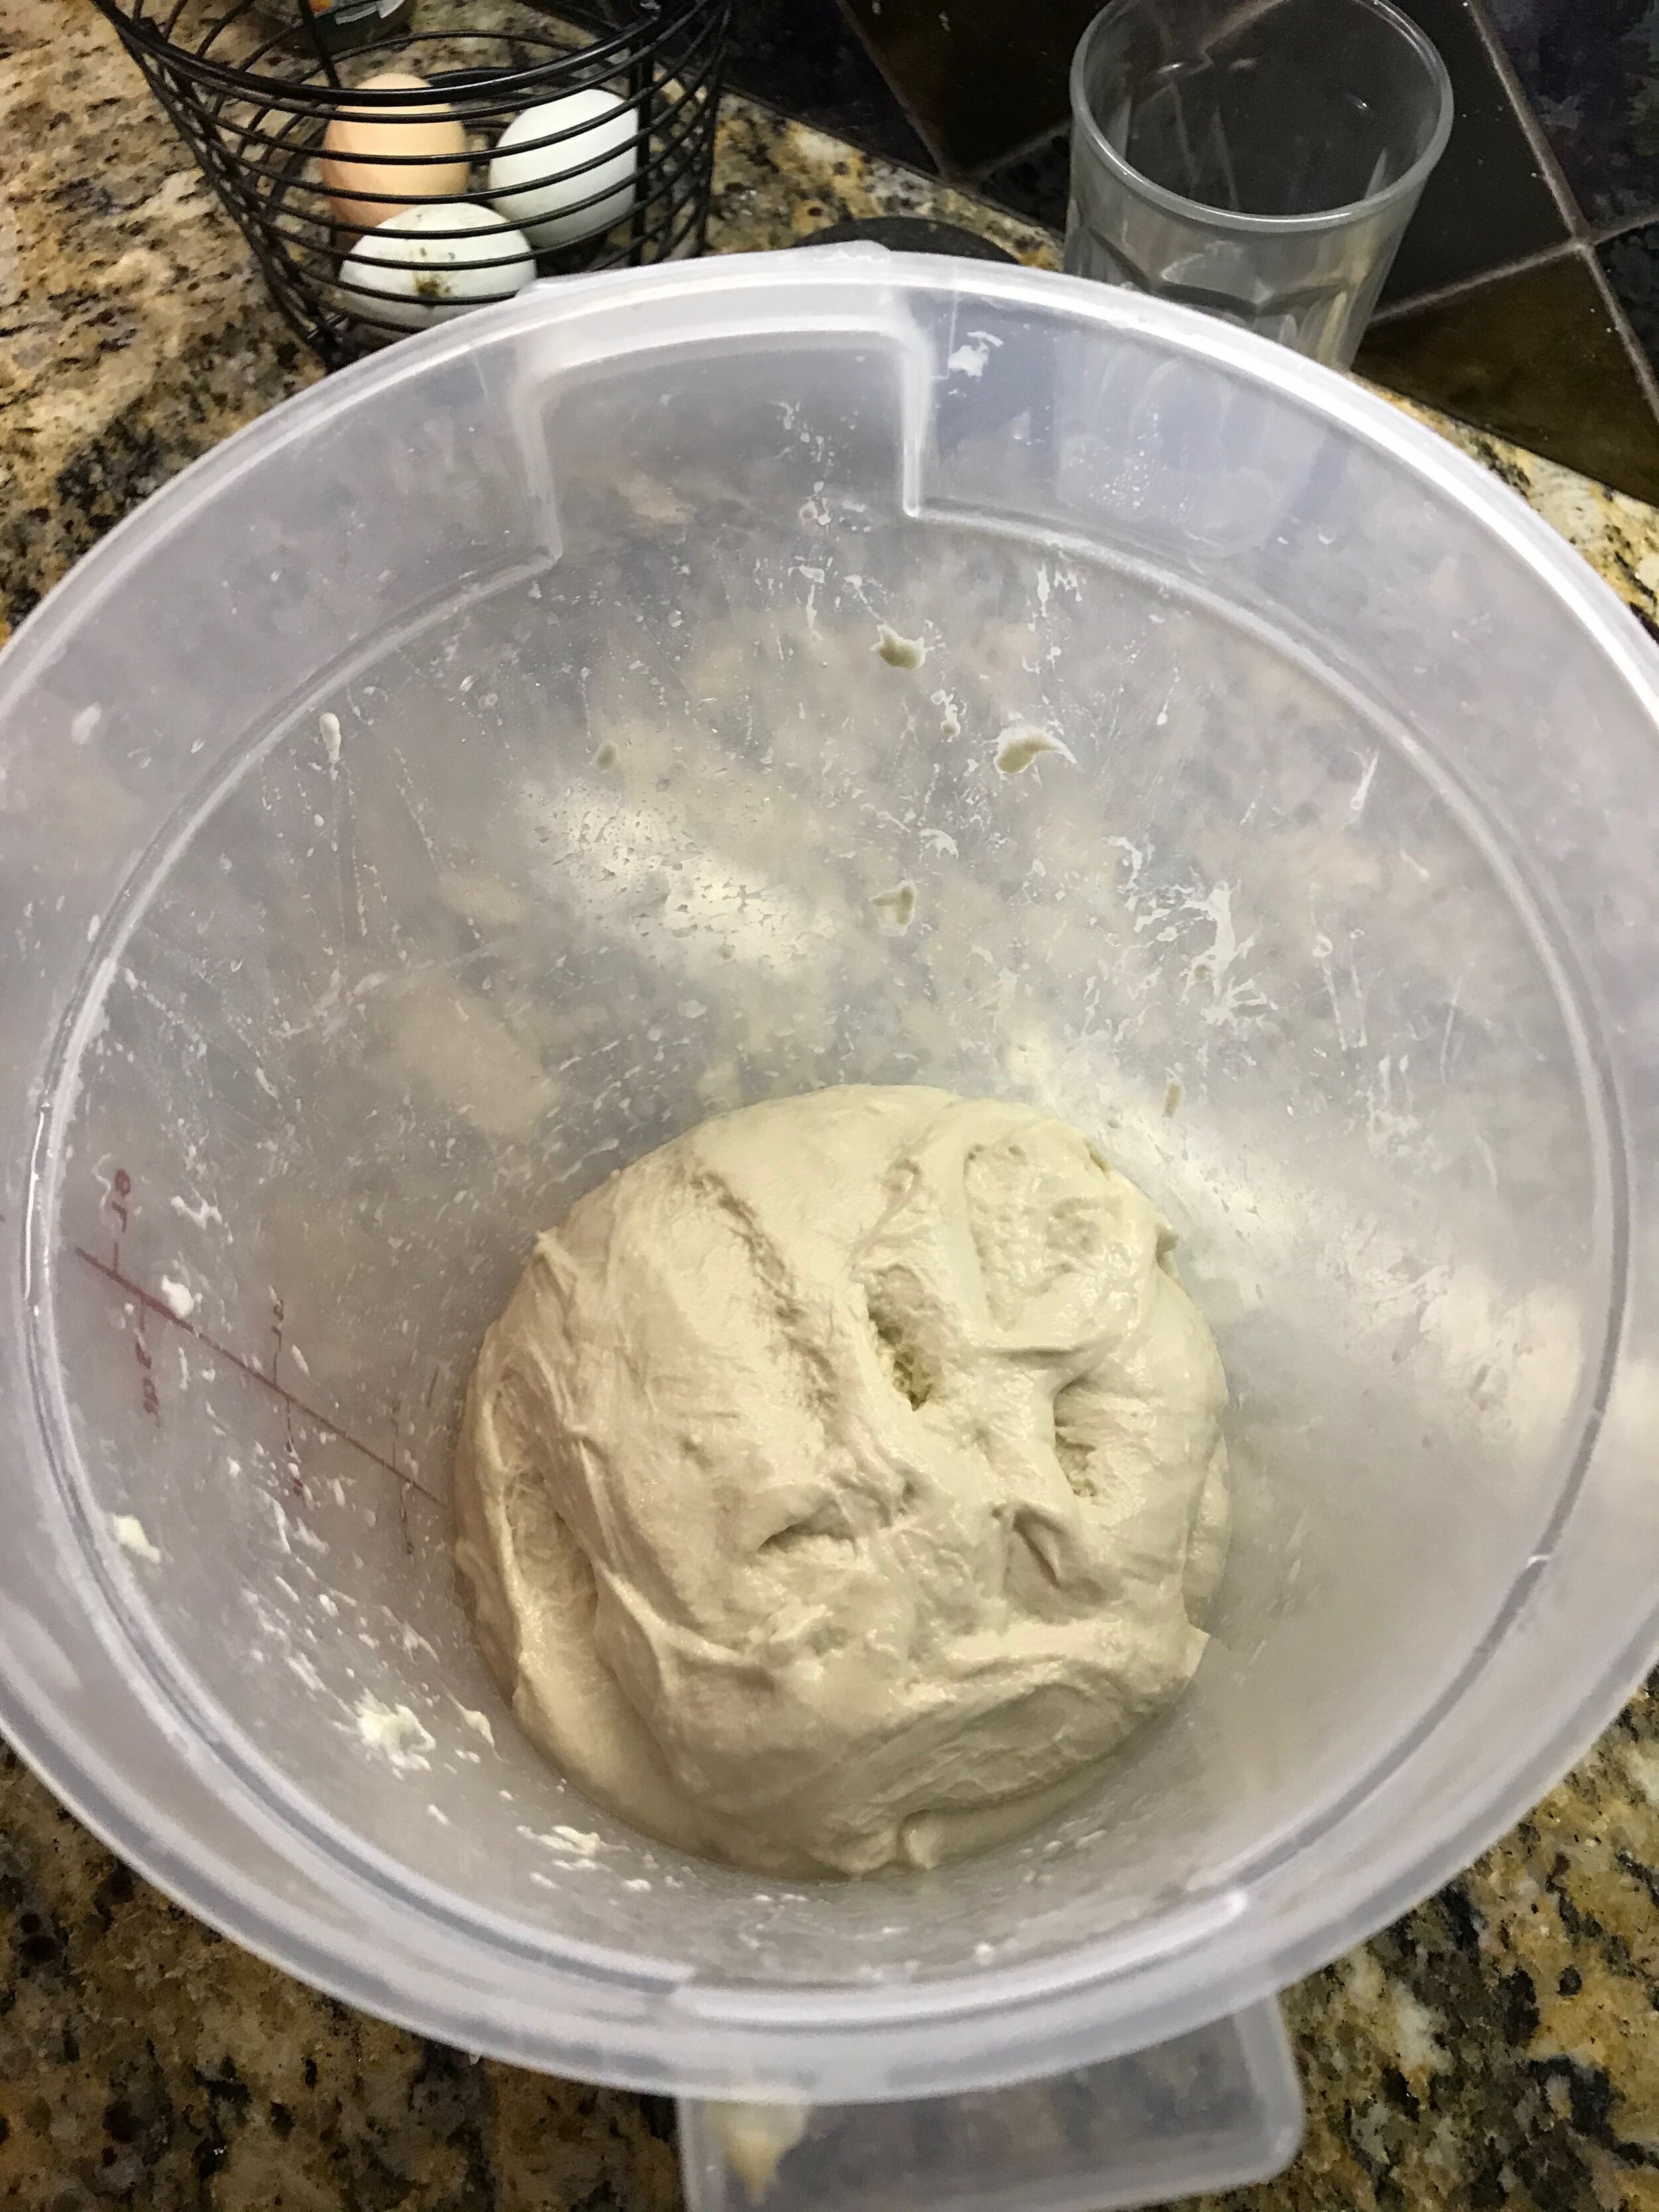
Fold the dough by reaching underneath the dough and gently stretch a 1/4 of the dough to the other side of the dough. Repeat this 3 more times (rotating the tub 1/4 turn each time) until the the salt and the yeast are fully enclosed
Squish the dough between your thumb and forefinger (I find I end up squishing the dough between my hand) 5 or 6 times across the entire mass of dough. Then fold the dough over itself a few times.
Repeat, alternately cutting and folding until all the the ingredients are fully integrated (2-3 more times). Cover
Let the dough rest for a few minutes, then fold for another 30 seconds. Cover
Over the next 1.5 hours fold the dough 3 more times. Cover
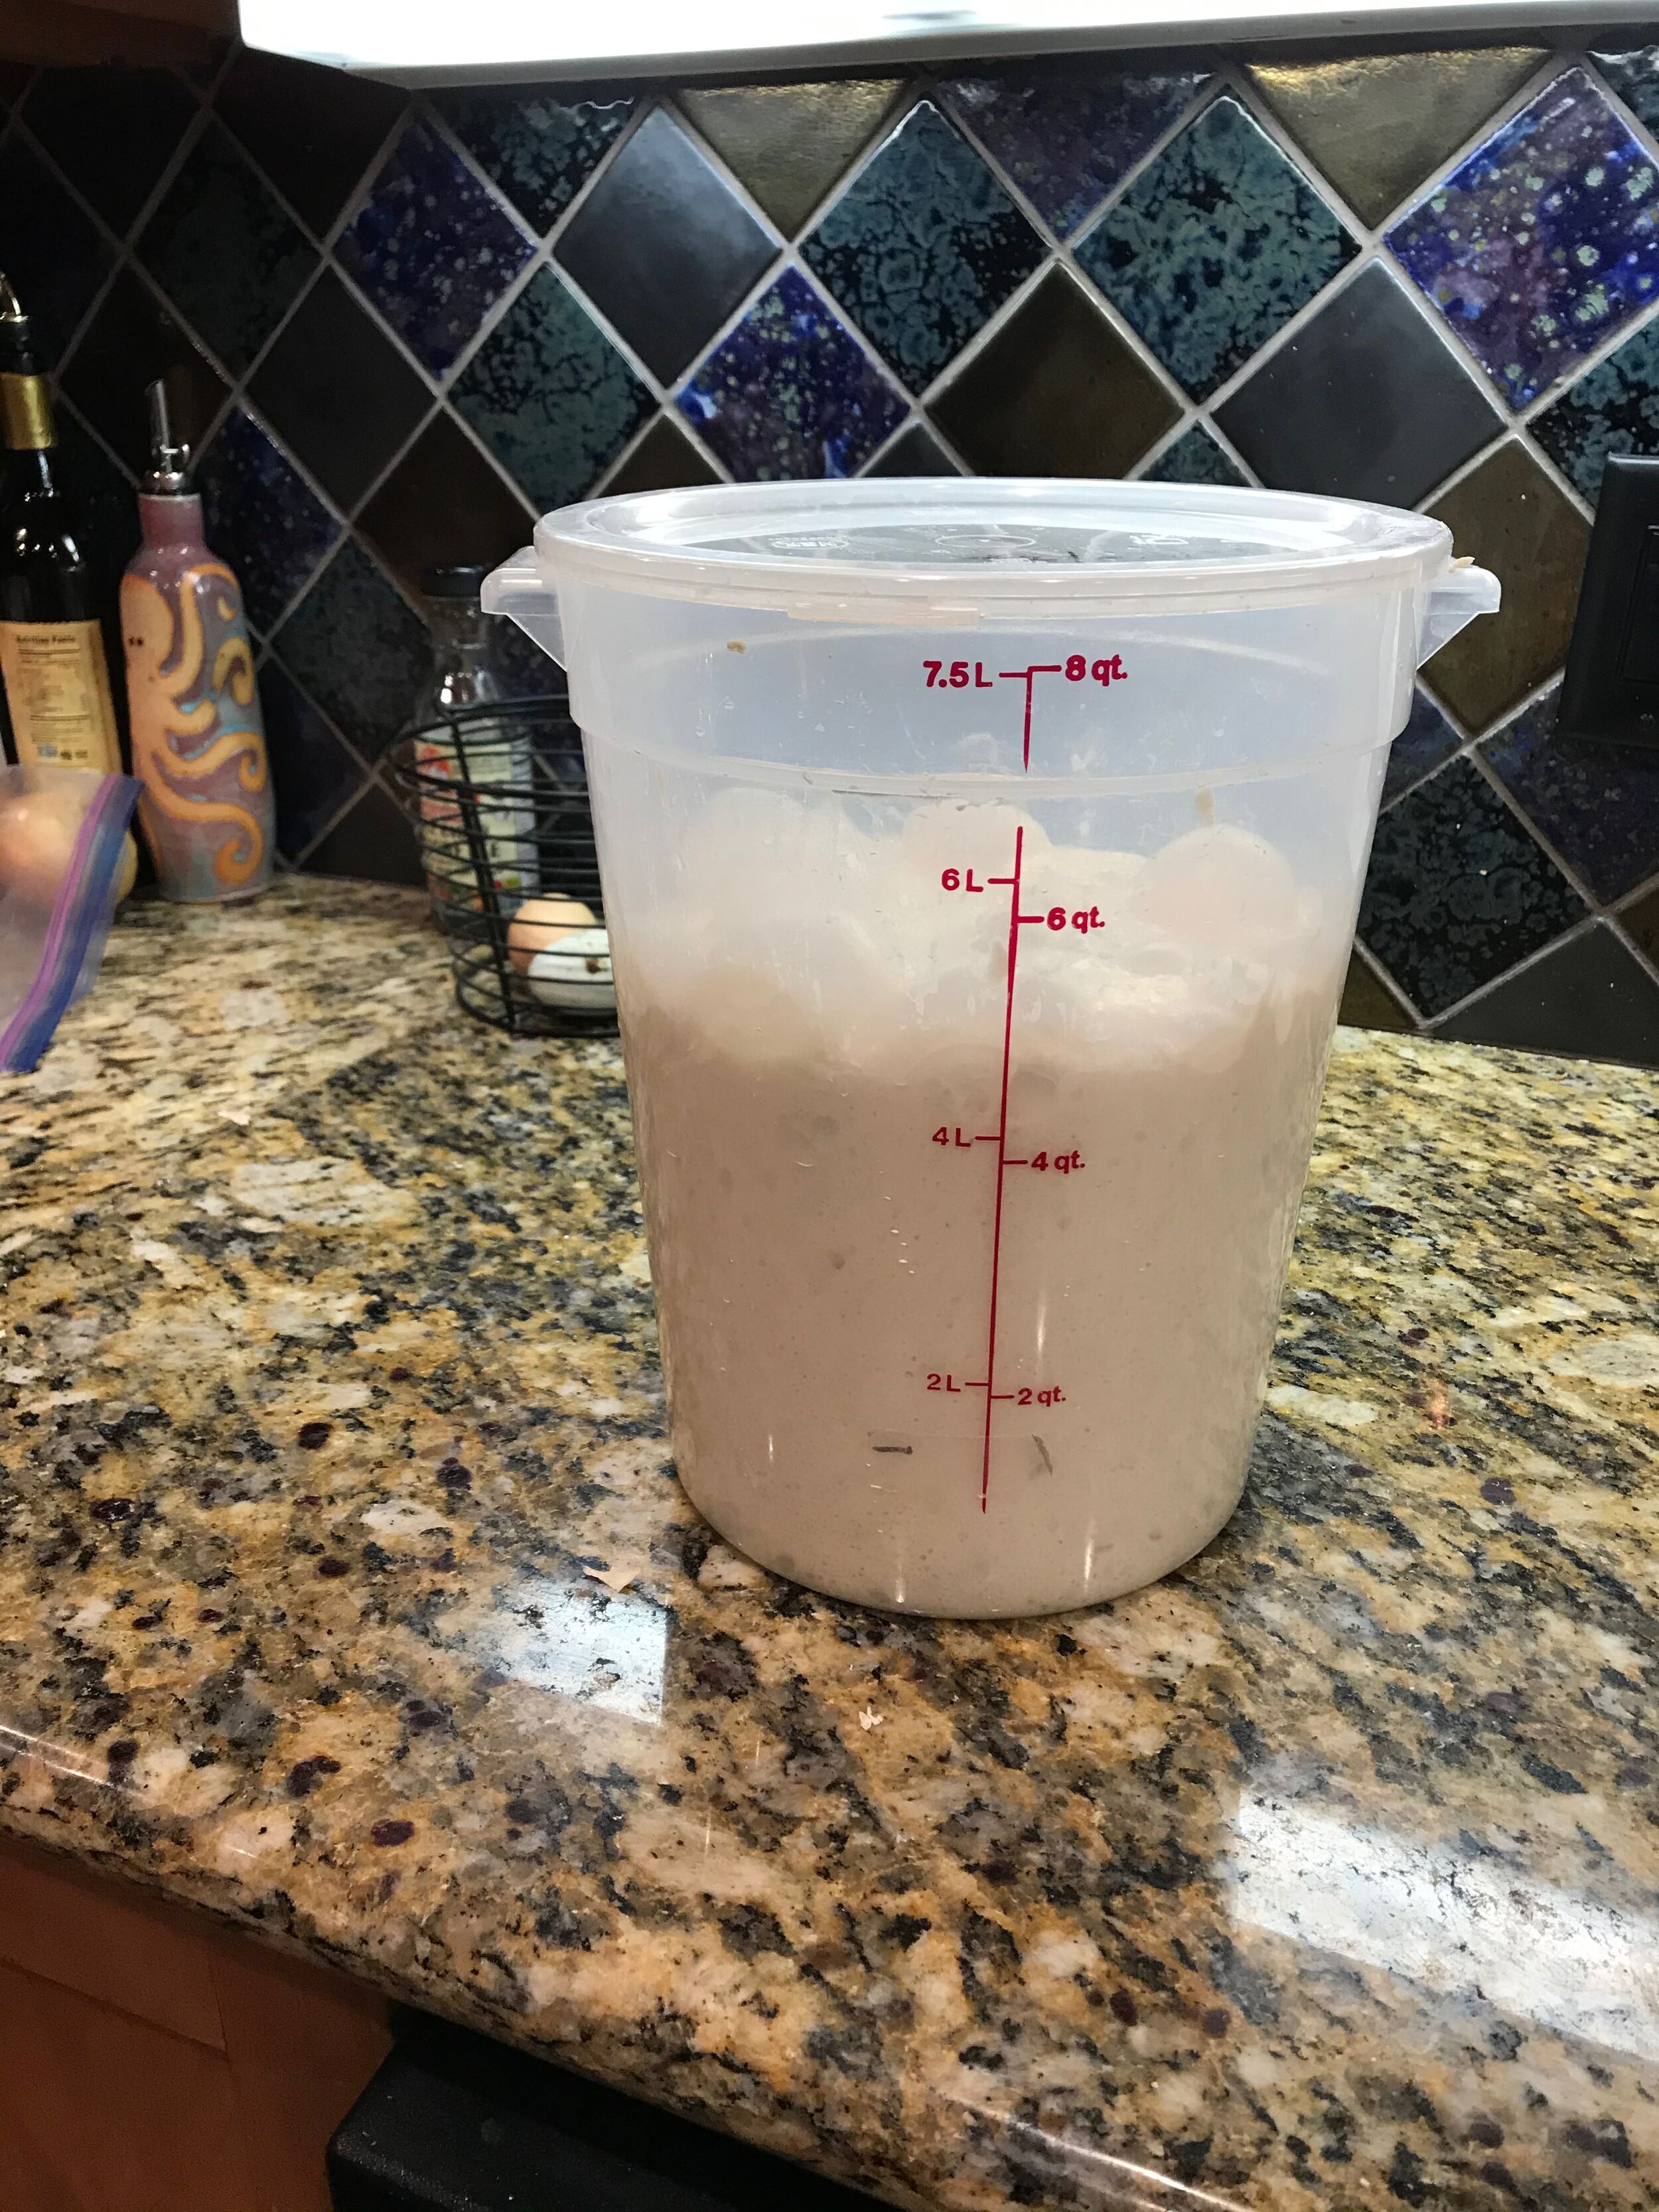
Let it rise overnight (12-14 hrs). In the morning the dough should be 2.5 to 3 times its original size.
In the morning flour a work surface, flour your hands and sprinkle a bit of flour around the edges of the tub.
Gently ease the dough onto the floured surface (work your hand under the dough and gently ease it out)
Shape the dough by pulling an edge of the dough out and fold it into the center, repeat 5-6 times working your way around the dough. Flip the dough onto a non-floured surface, cup your hands on either side of the dough and drag it 6-8 inches towards you. Rotate a quarter turn and repeat. Repeat this process 6-10 more times until you have a medium-tight ball.
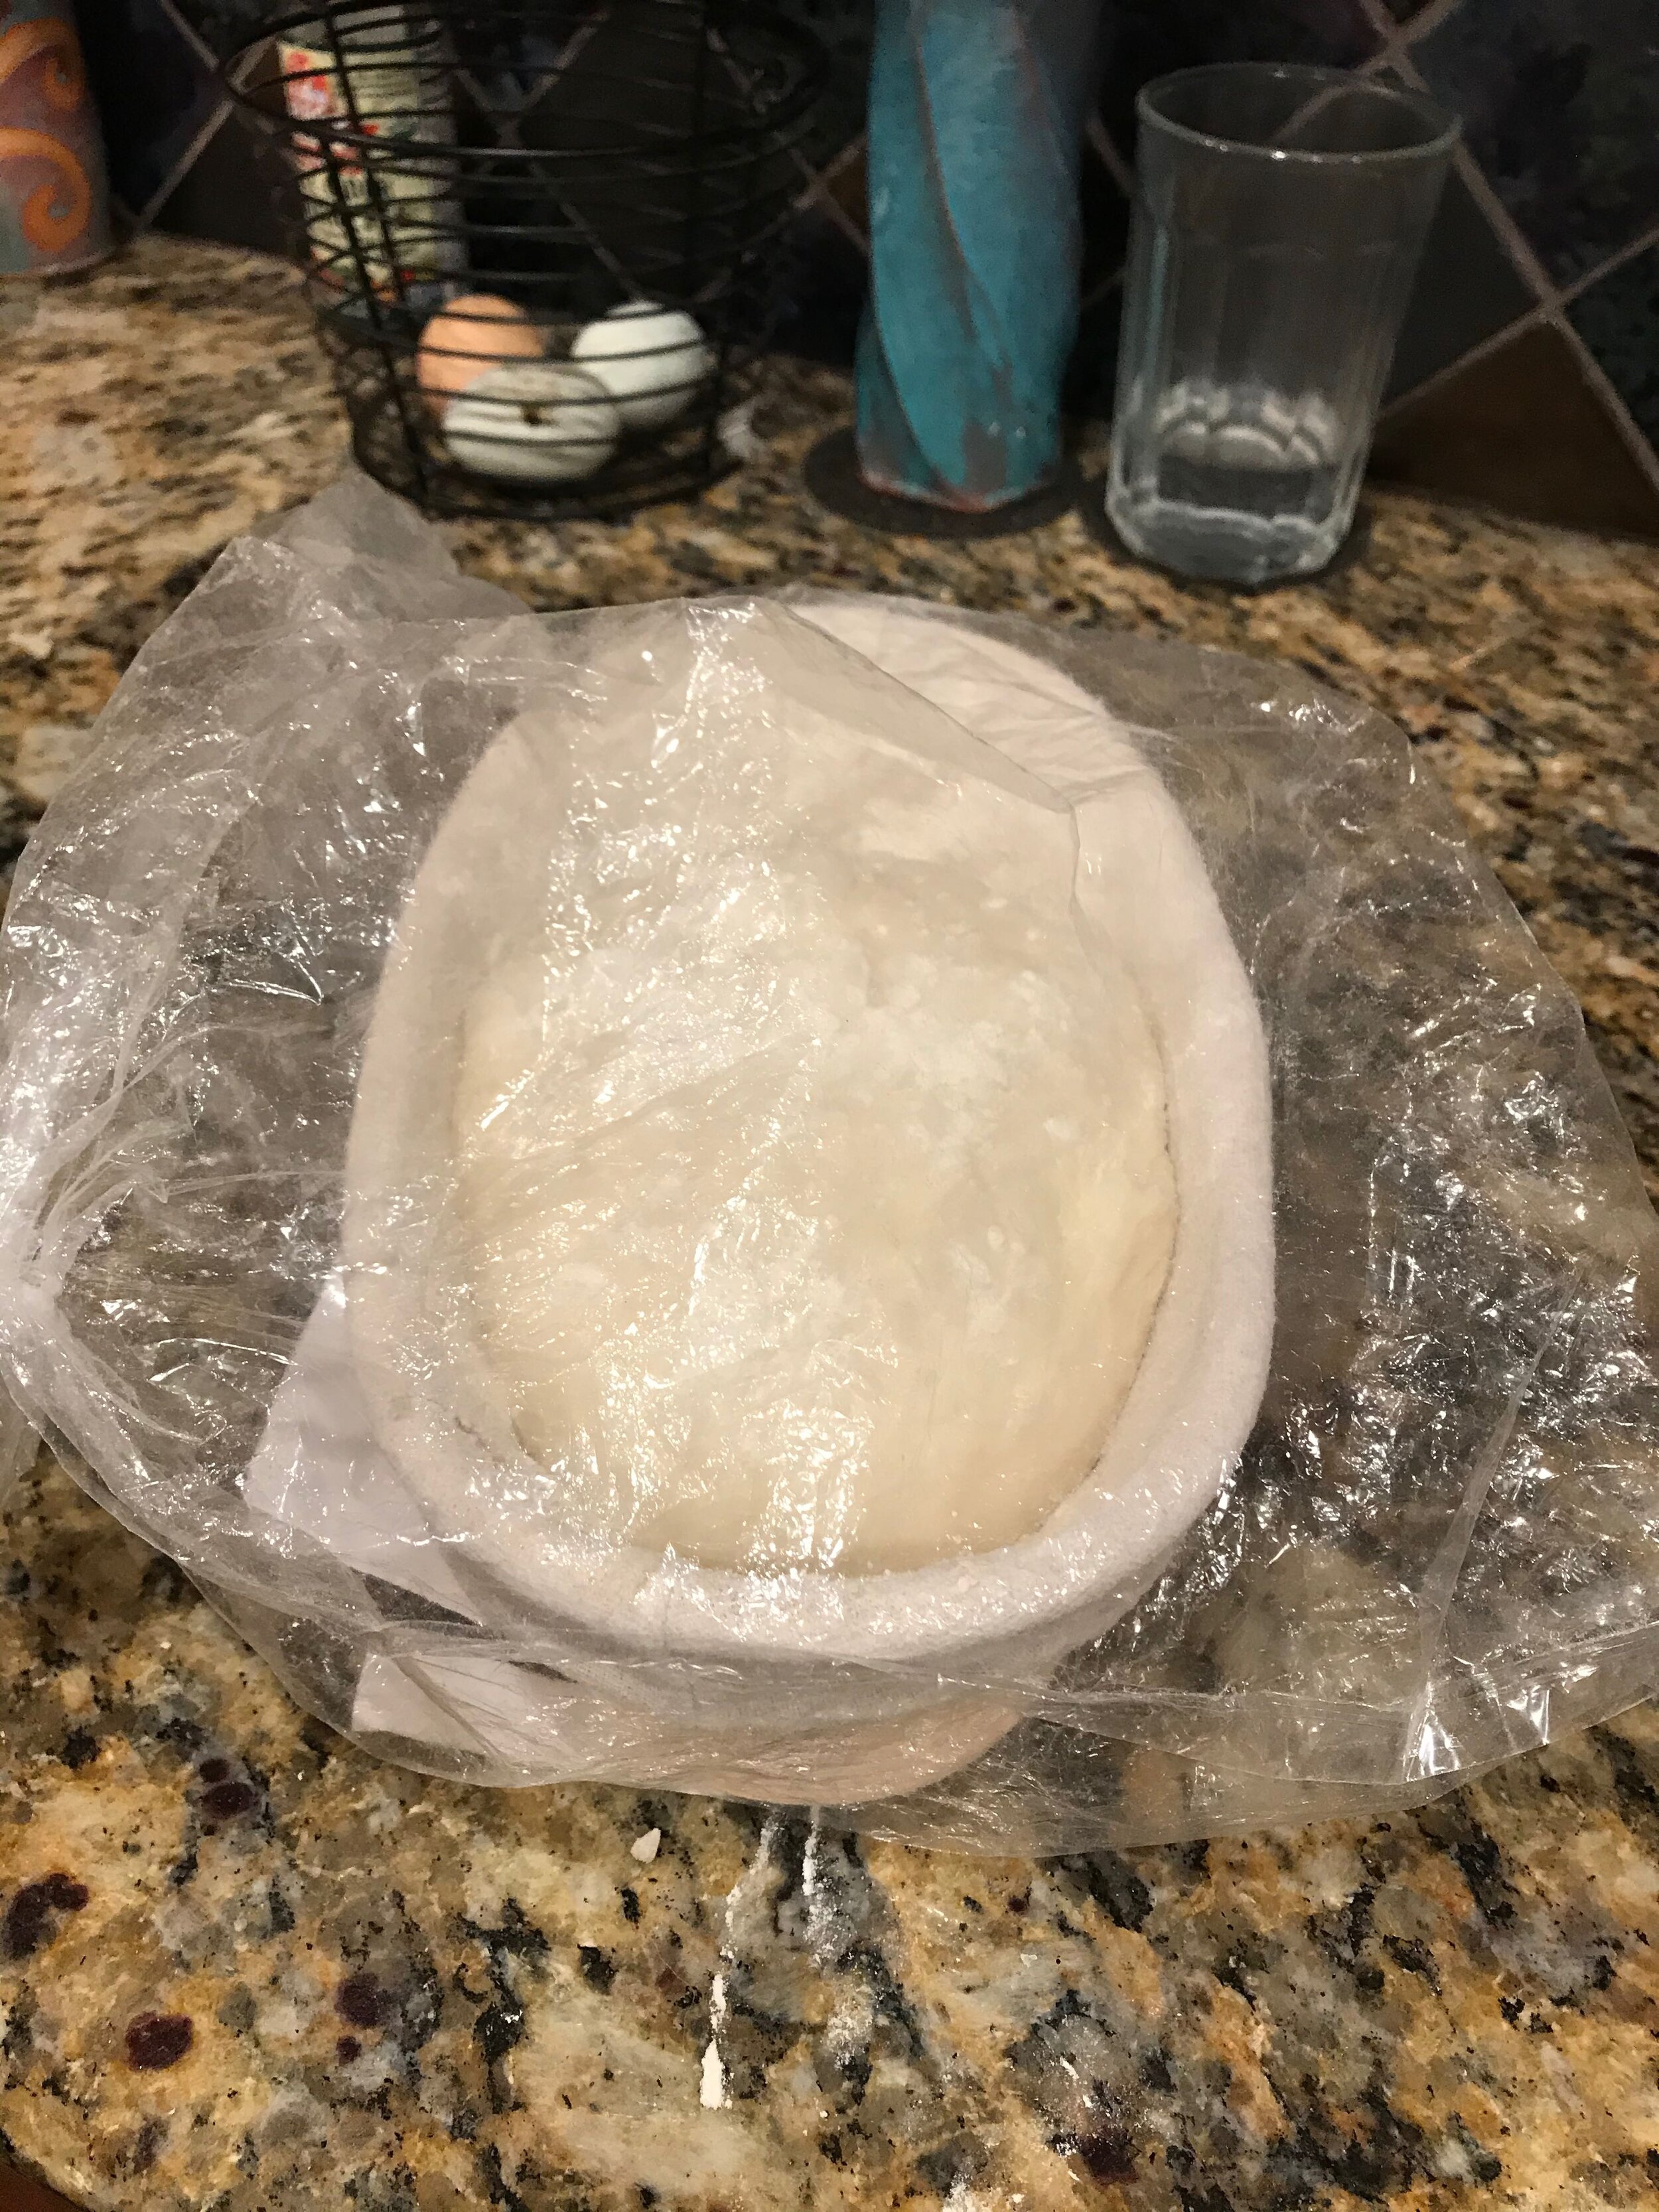
Place the dough ball seam side down in a proofing basket and place inside a nonperforated plastic bag.
Let it proof for 1 - 1.25 hrs. You will know it is ready to bake when you gently stick the tip of your finger into the dough and it slowly rebounds.
Place the dutch oven in the oven and preheat to 475°F
Once the dough has proofed, flip it out onto a piece of parchment paper (seam side will be up)
Place the dough into the dutch oven, cover and bake for 30 minutes. Remove the lid and bake for another 20-30 minutes (I find 20 minutes works for my needs). You can tell when the bread is done when you tap on the bottom of the bread and it has a hollow sound.
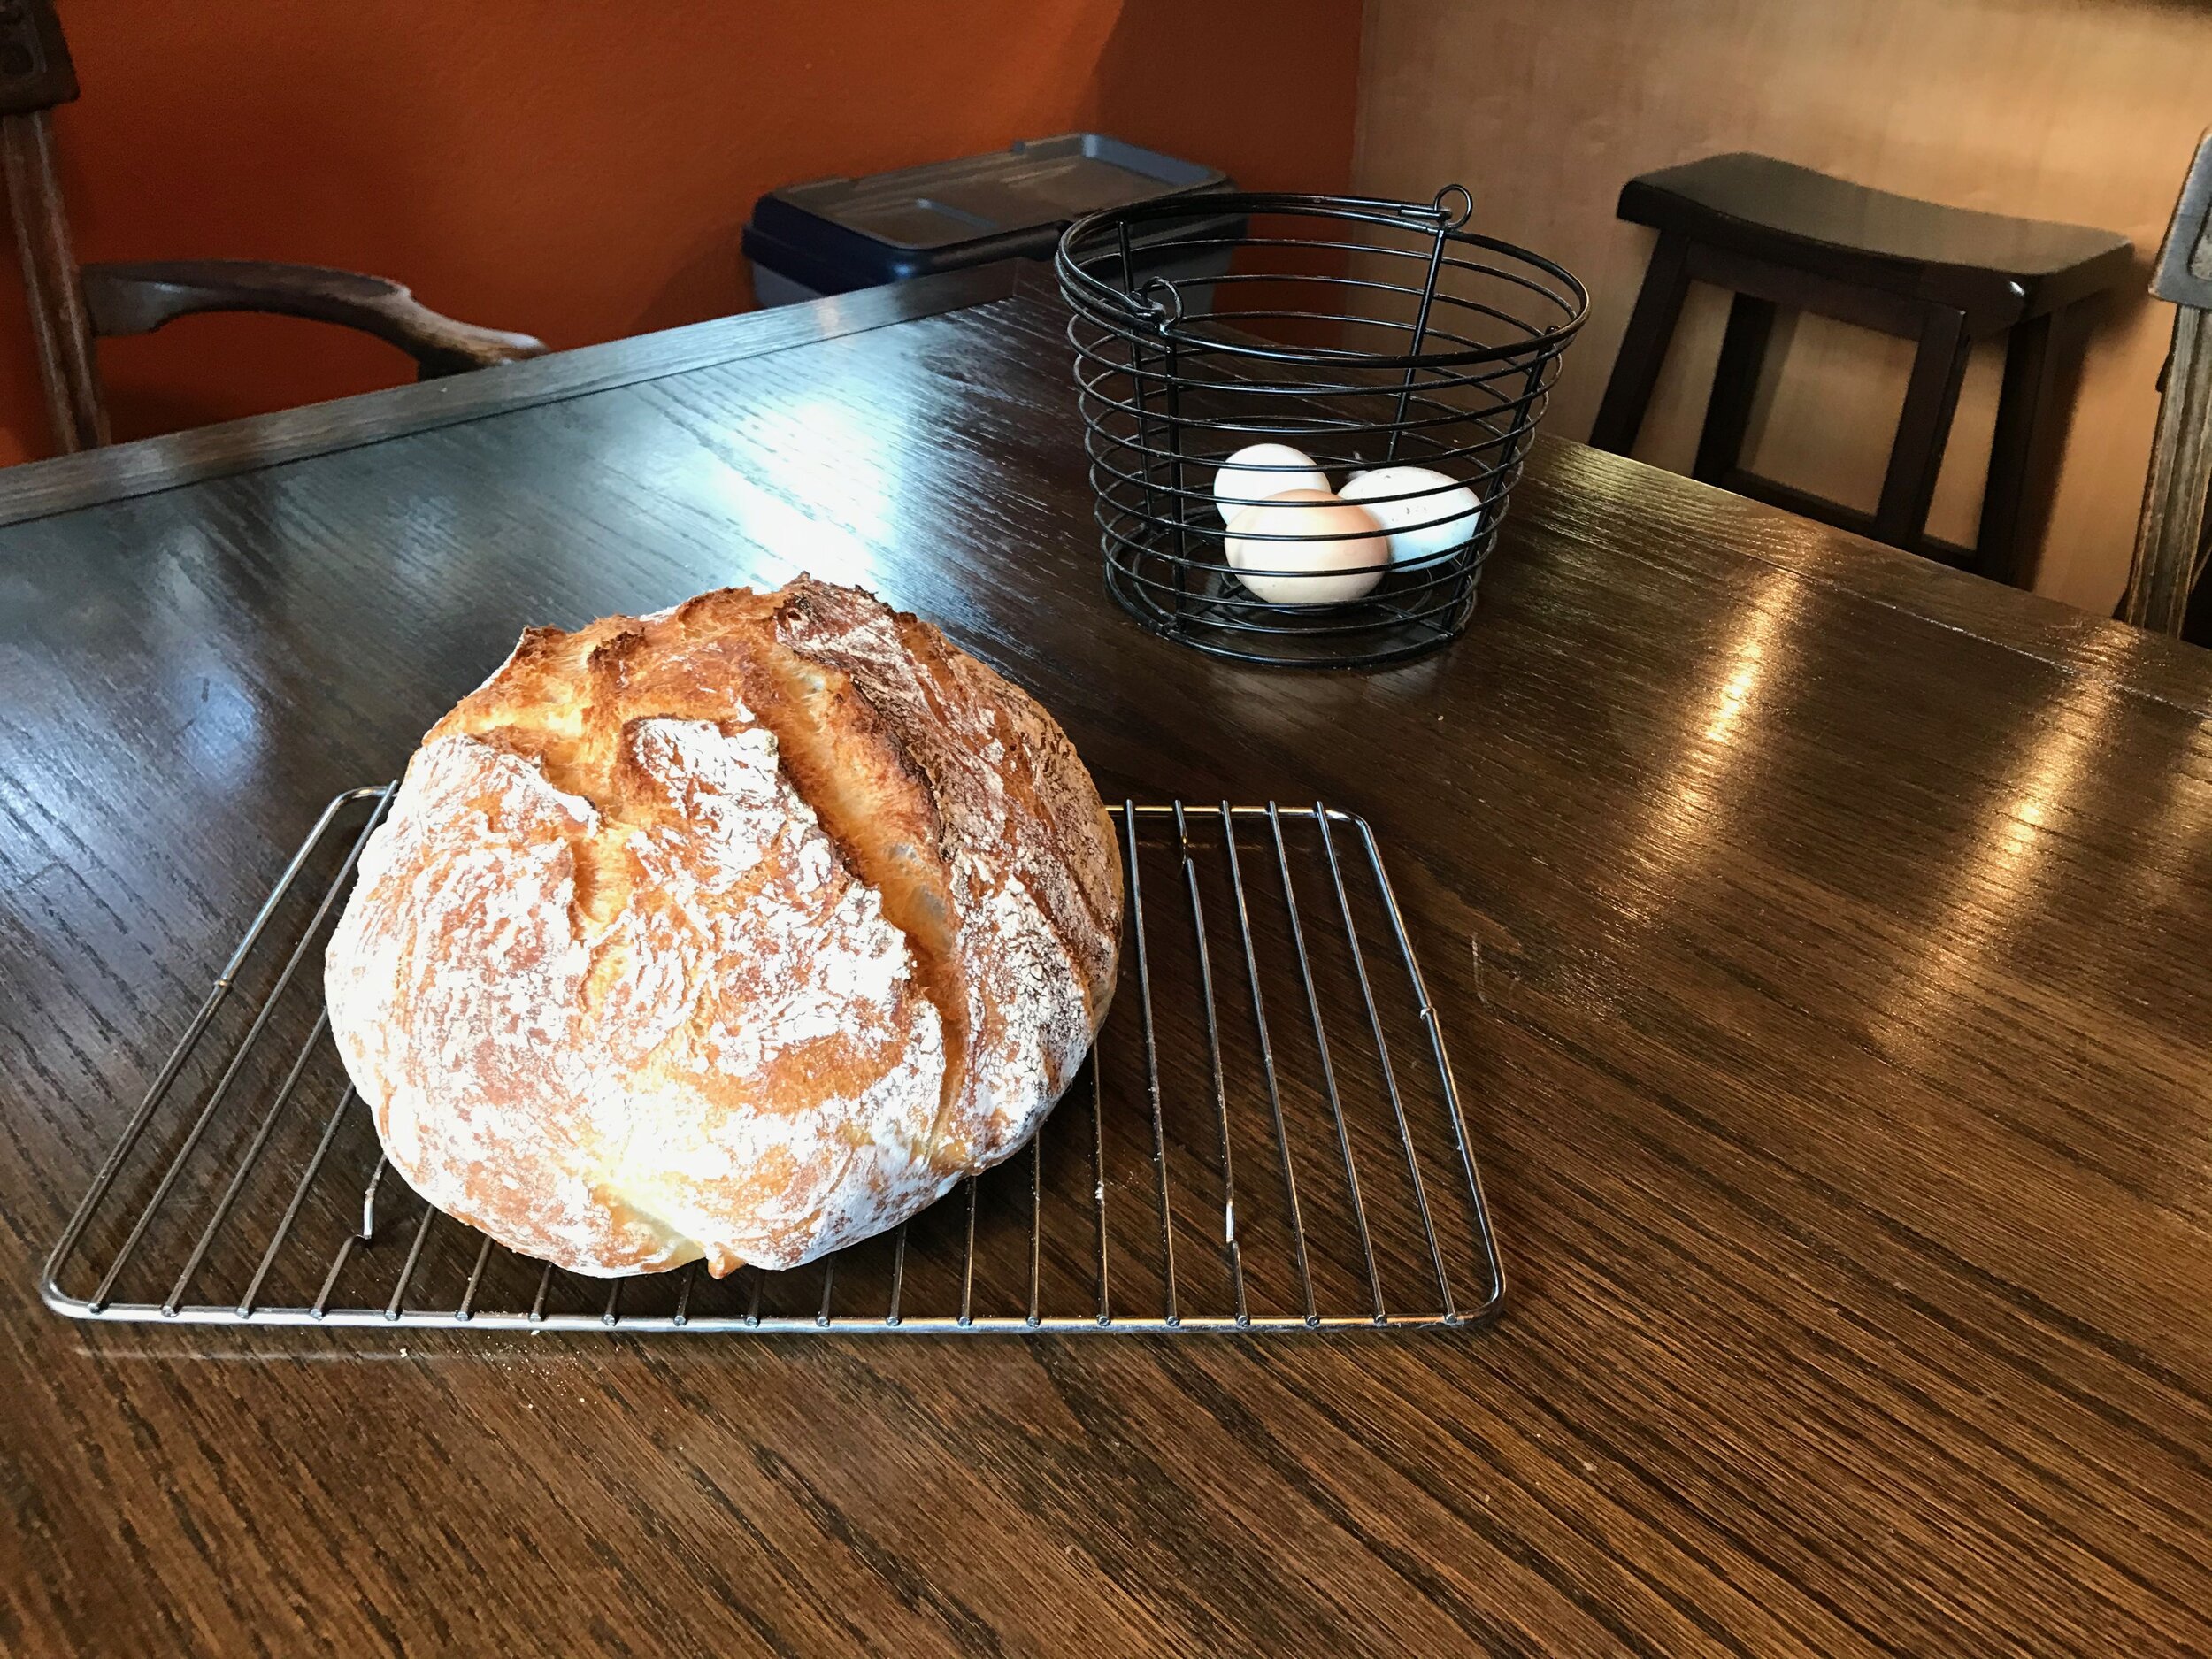
Let the bread rest for 20 minutes before slicing.